UPDATED HAIR CARE // LOW SLEEK BUN TUTORIAL
This week I am reposting my go-to low sleek bun and daily make up routine as so many of you have asked recently! The past few years I have fine tuned my hair and beauty regime and rarely stray from what I feel ‘works for me’ (although don’t worry I have heard loud and clear many of you would like to see my hair down more often lol)! Since I like to focus on over the top fashion I feel like this sleek do allows my outfits to stand out. Well without further ado…
If you haven’t noticed, the sleek, low bun has quickly become a part of beauty uniform! Being so fast and easy to do, it has transformed my everyday look. Over the past few years, I’ve had quite the hair journey – from going way too blonde and curling my fine, color processed hair everyday (ekkk so much damage) to going a bit darker and finally finding a low heat styling solution that I love (this cut down on the damage).
Below I am breaking down my everyday styling steps in a low sleek bun tutorial – with products included. At the end of this post I’ve also included a few of my most asked hair care questions, but feel free DM or email me any other questions you have. Happy to help! 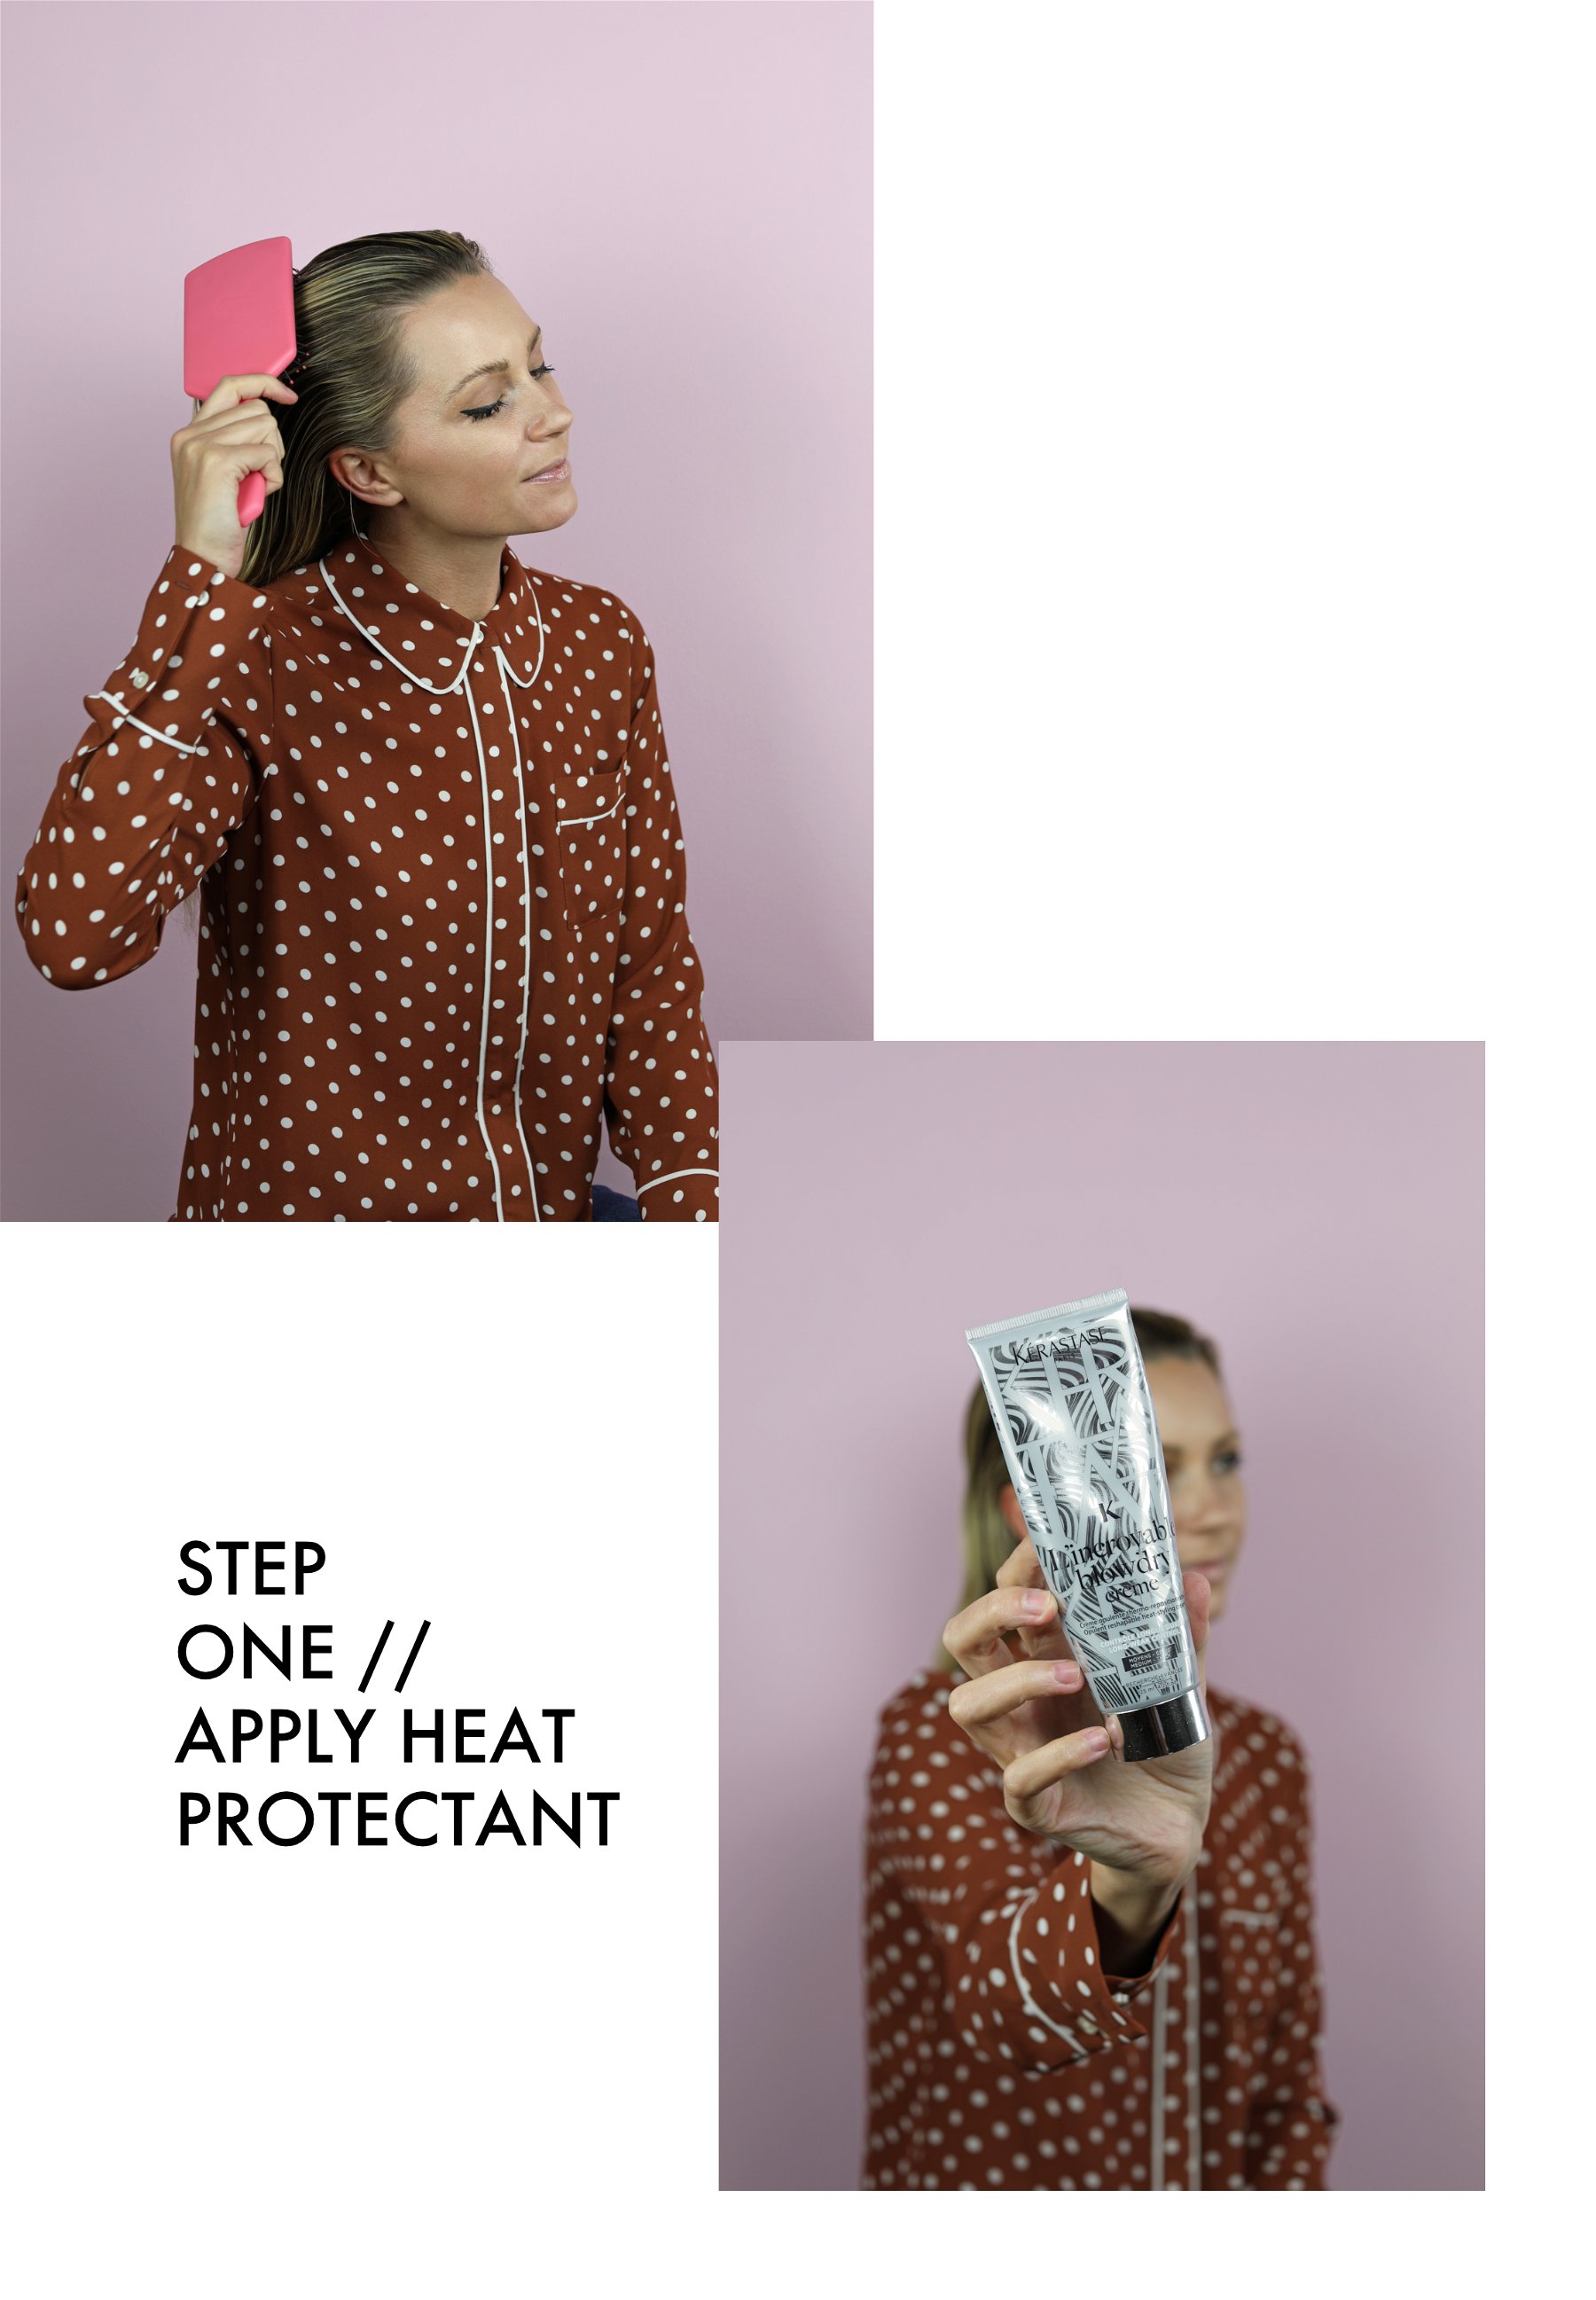
STEP ONE // While my hair is still quite damp I apply Kerastase Blowdry Cream, an amazing heat protectant. I have also used this protectant from Kerastase in the past, and love both. While I only blow dry my hair for about 2-3 minutes (after step three), I have found heat protectant is so important for my fine, color processed hair – even when I apply heat for just a few short minutes.
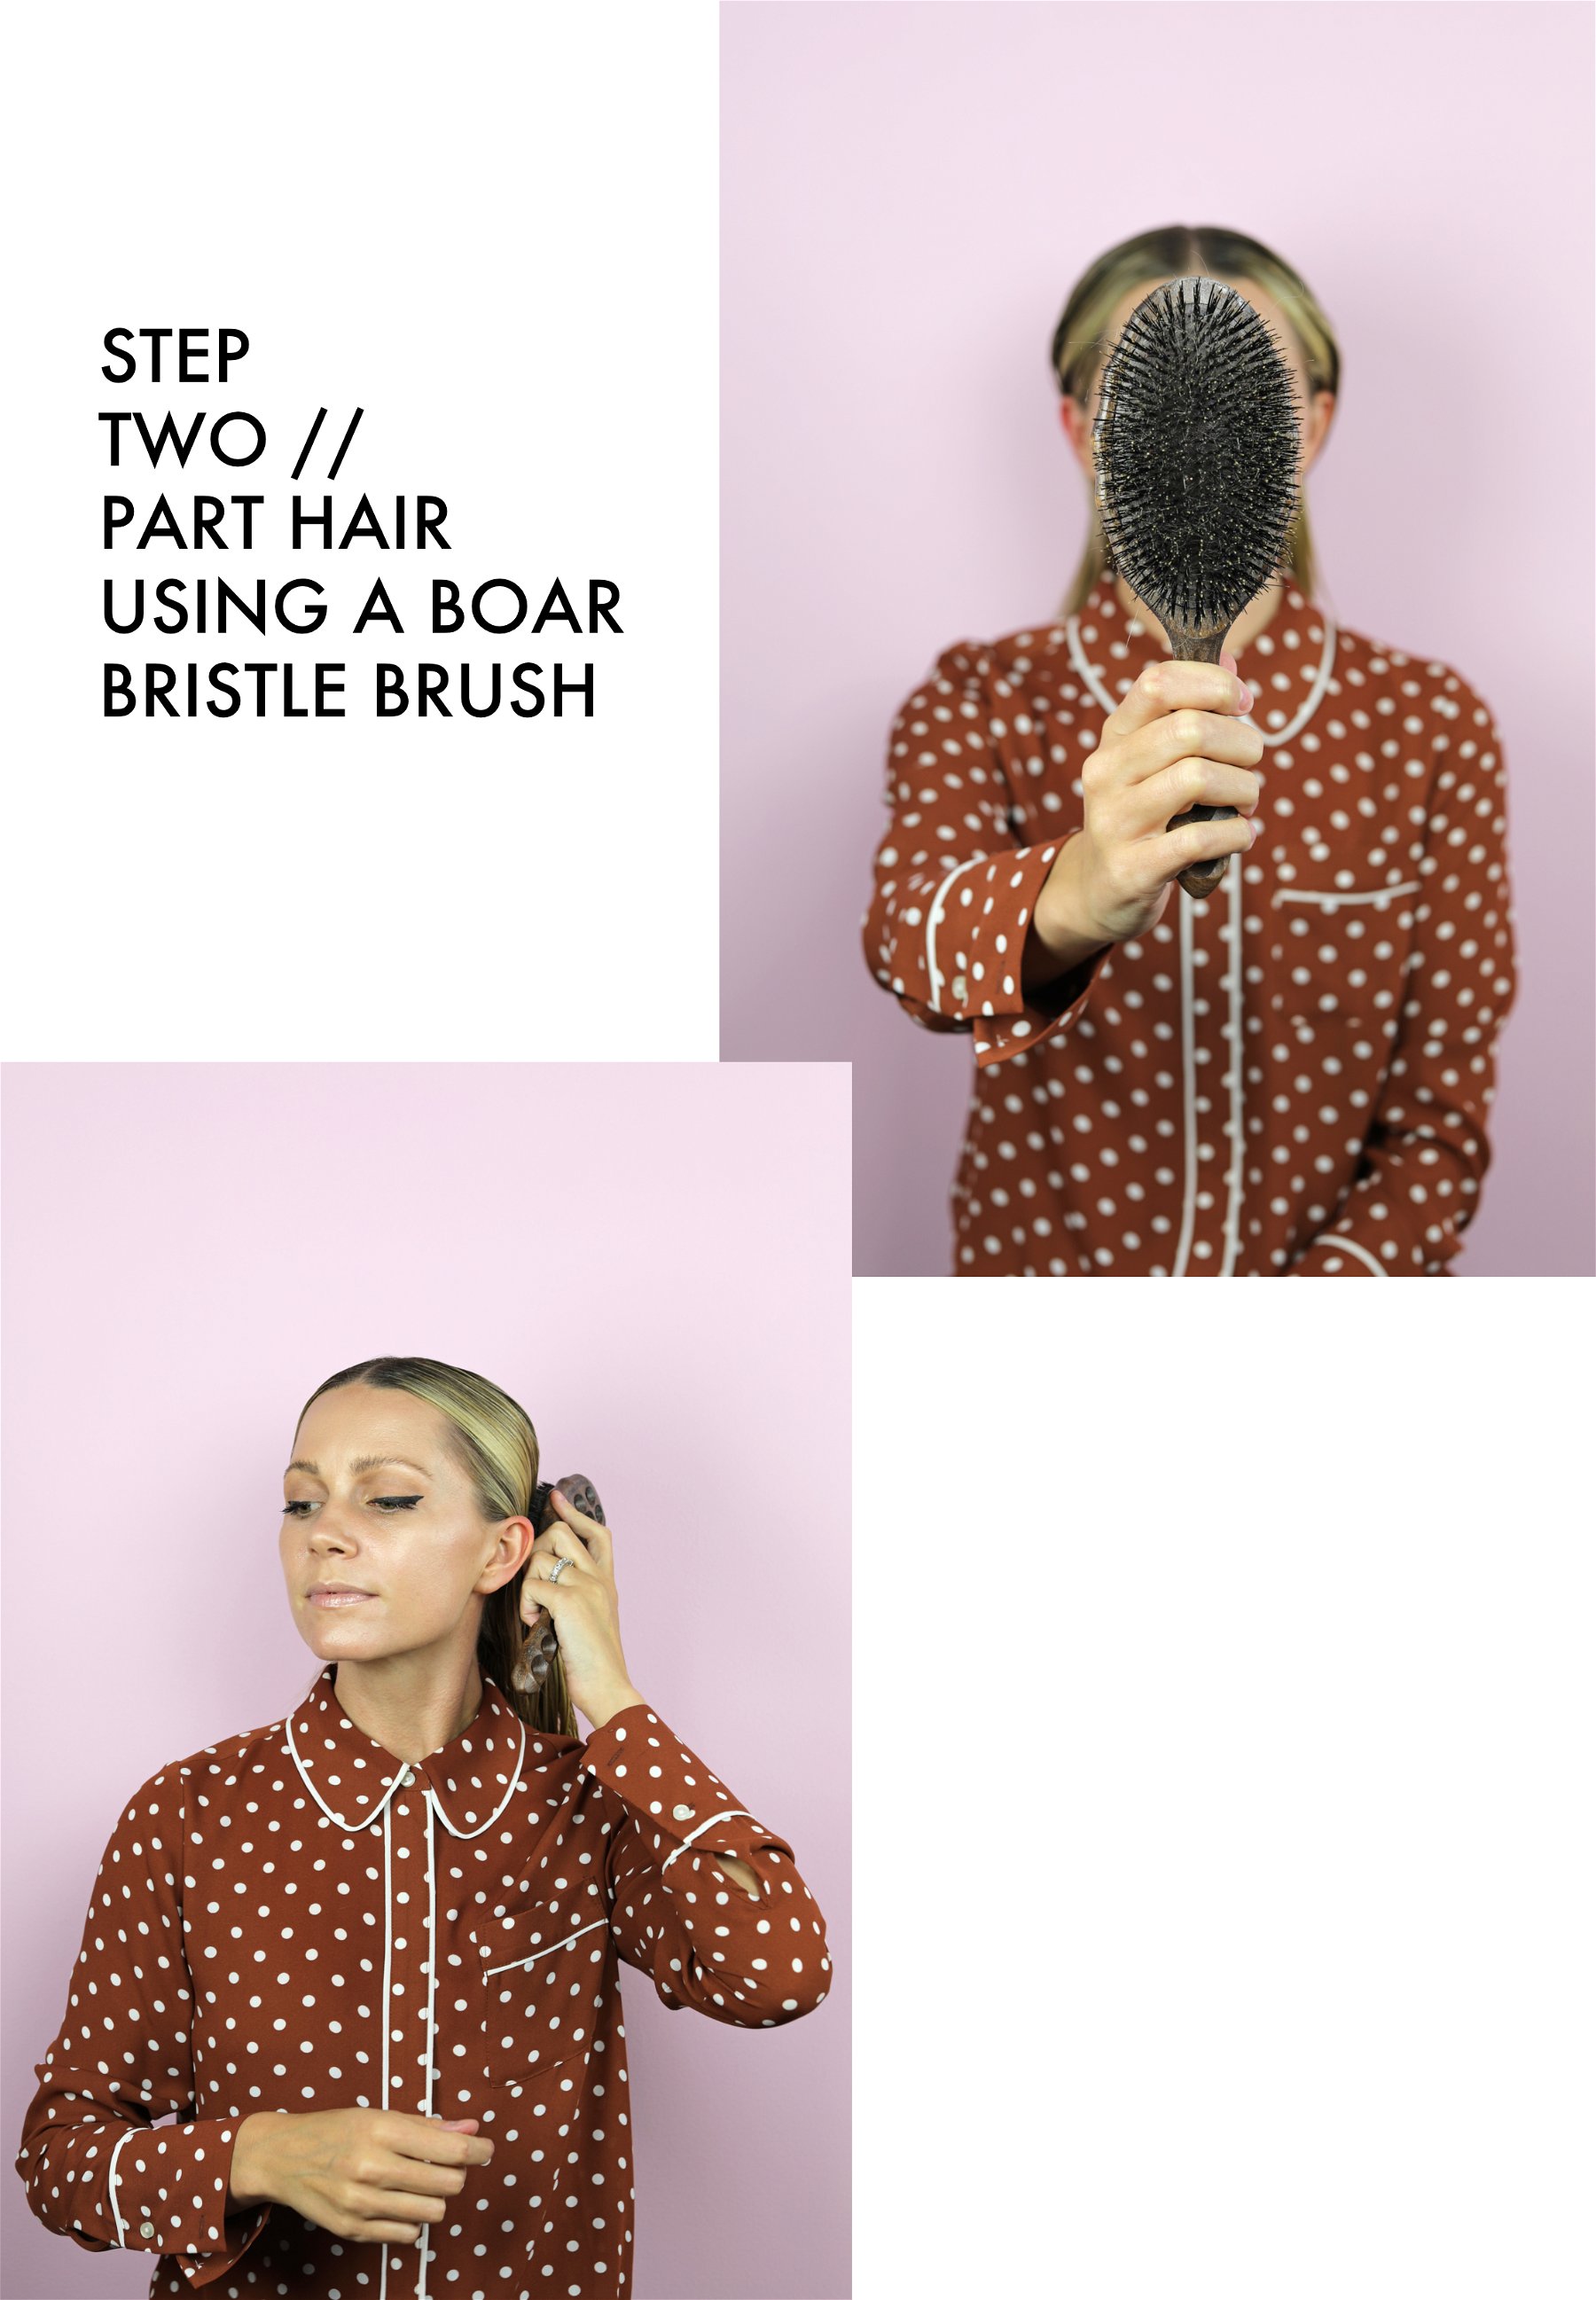
STEP TWO // Using a boar bristle brush (this one also gets rave reviews) I part my hair down the center and smooth out each side. This brush is *key* to getting the sleek look I want. It is also important to clean your hairbrush once every two weeks (this could vary depending on how much hair you have). I usually fill a Tupperware container with warm water and shampoo and let the brush soak face down for about 15 minutes. Once the hair has become loose I take the brush out and using a fine tooth comb begin to brush the hair out from base of the bristles outward.
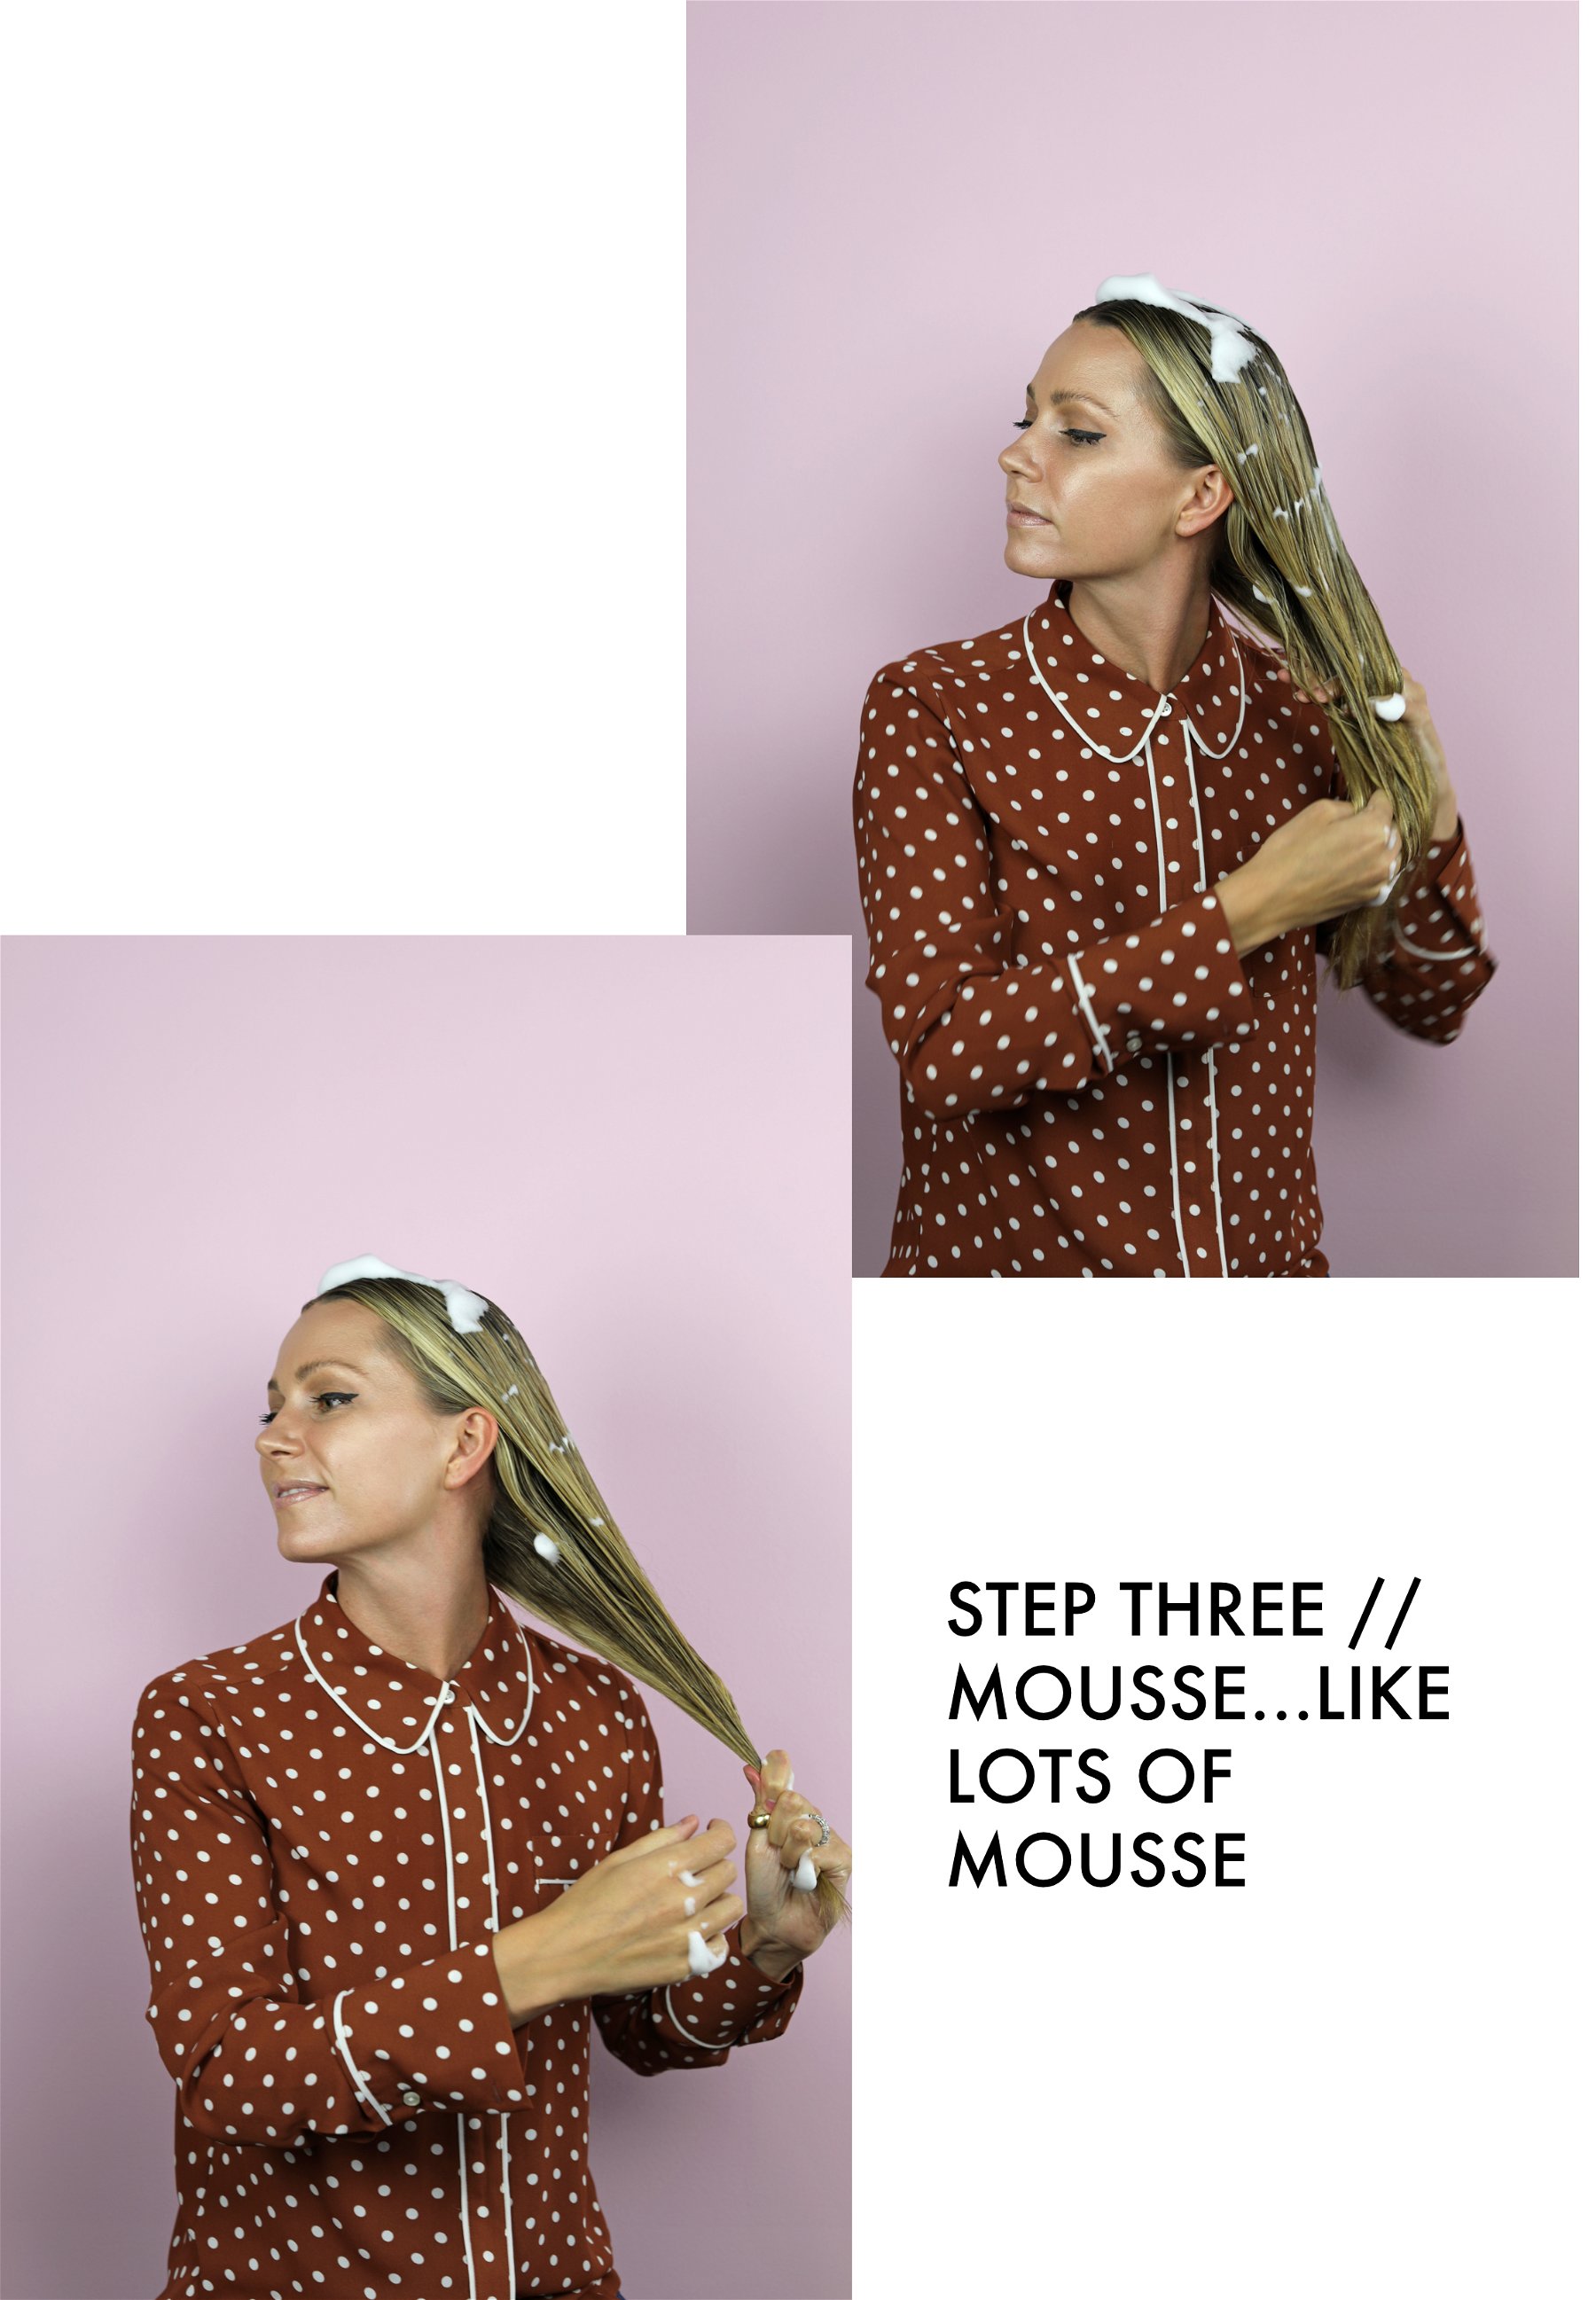
STEP THREE // Applying mousse all over to will help you get the hold you need. Again my hair is fine, and therefore needs a lot of product to hold in place all day. I make sure to apply mousse from the top of my head all the way down to the ends. At this point my hair is still damp, so I will run the blowdryer all over for about two to three minutes. I typically still leave my hair slightly damp while continuing to style. I have found my hair tends to stay better and will completely dry slowly throughout the morning while styled. After damaging my hair pretty badly over the years, I try to avoid applying any type of heat! I use this mousse, and while it says it is for curls, this is the styling product I have found works best for me!
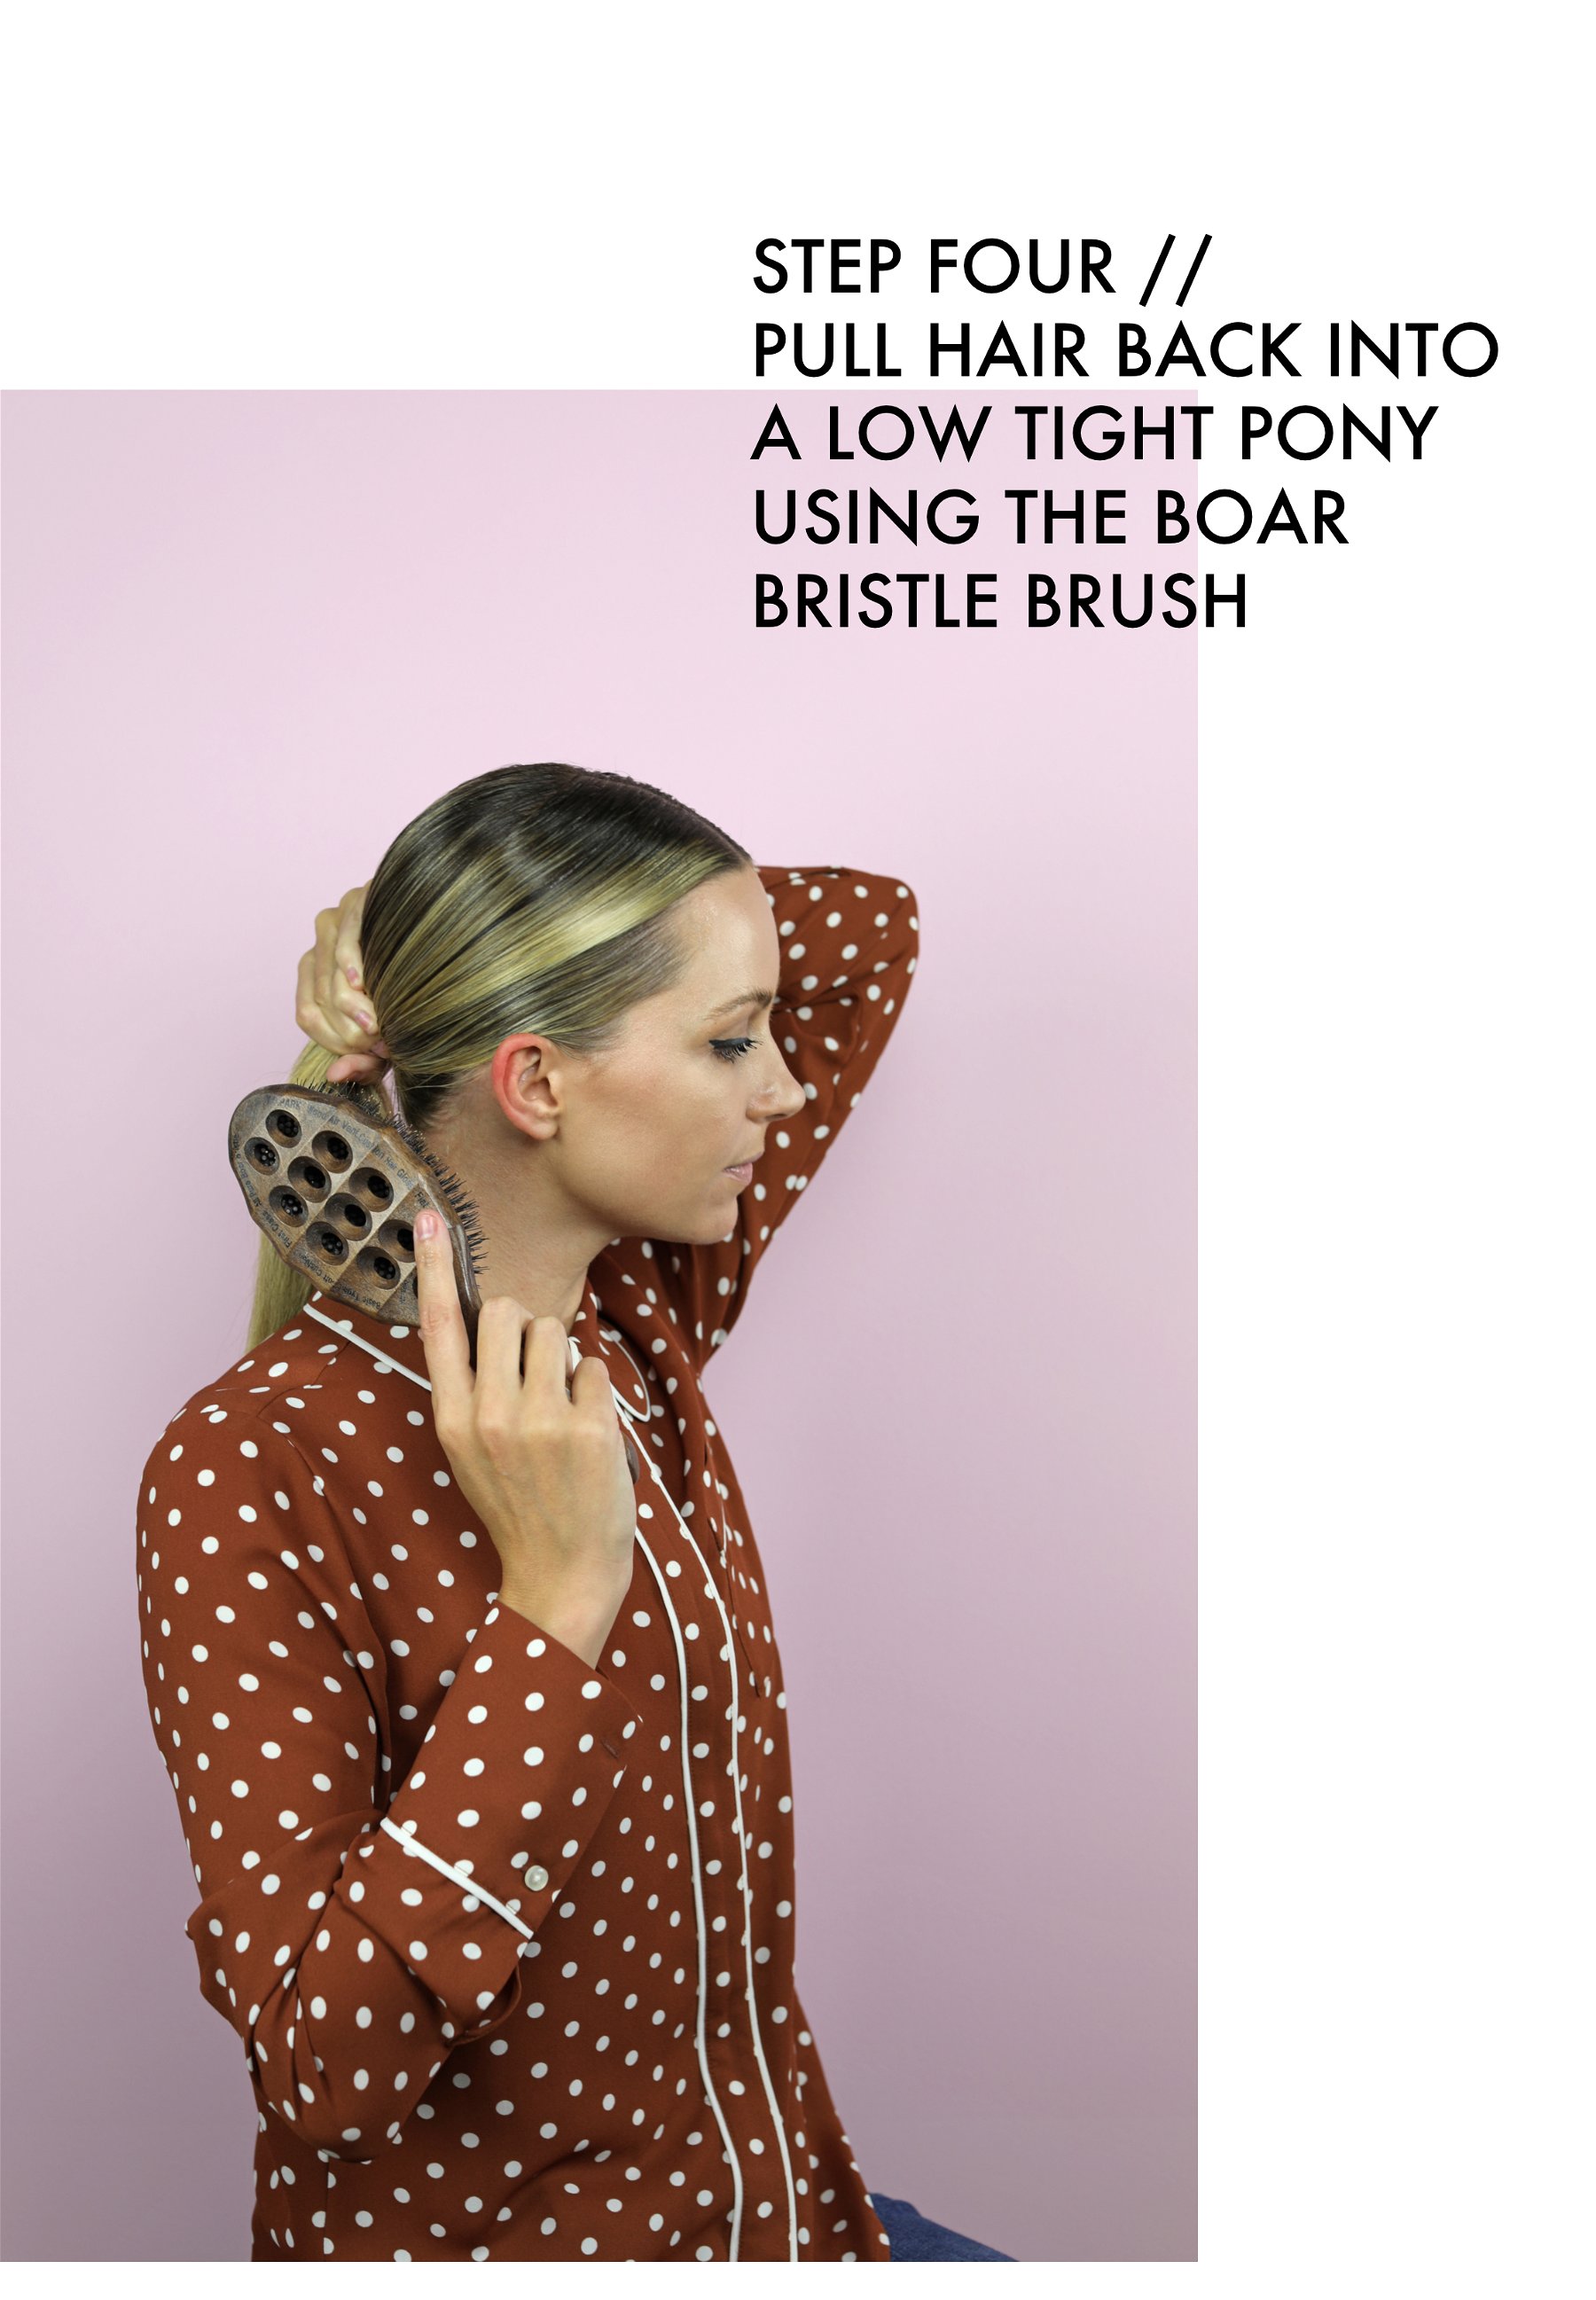
STEP FOUR // Using the boar bristle brush I pull my hair back into a low tight pony tail. Overall I want it is be smooth, straight and tight. I don’t worry about the small flyaways as I get those later!
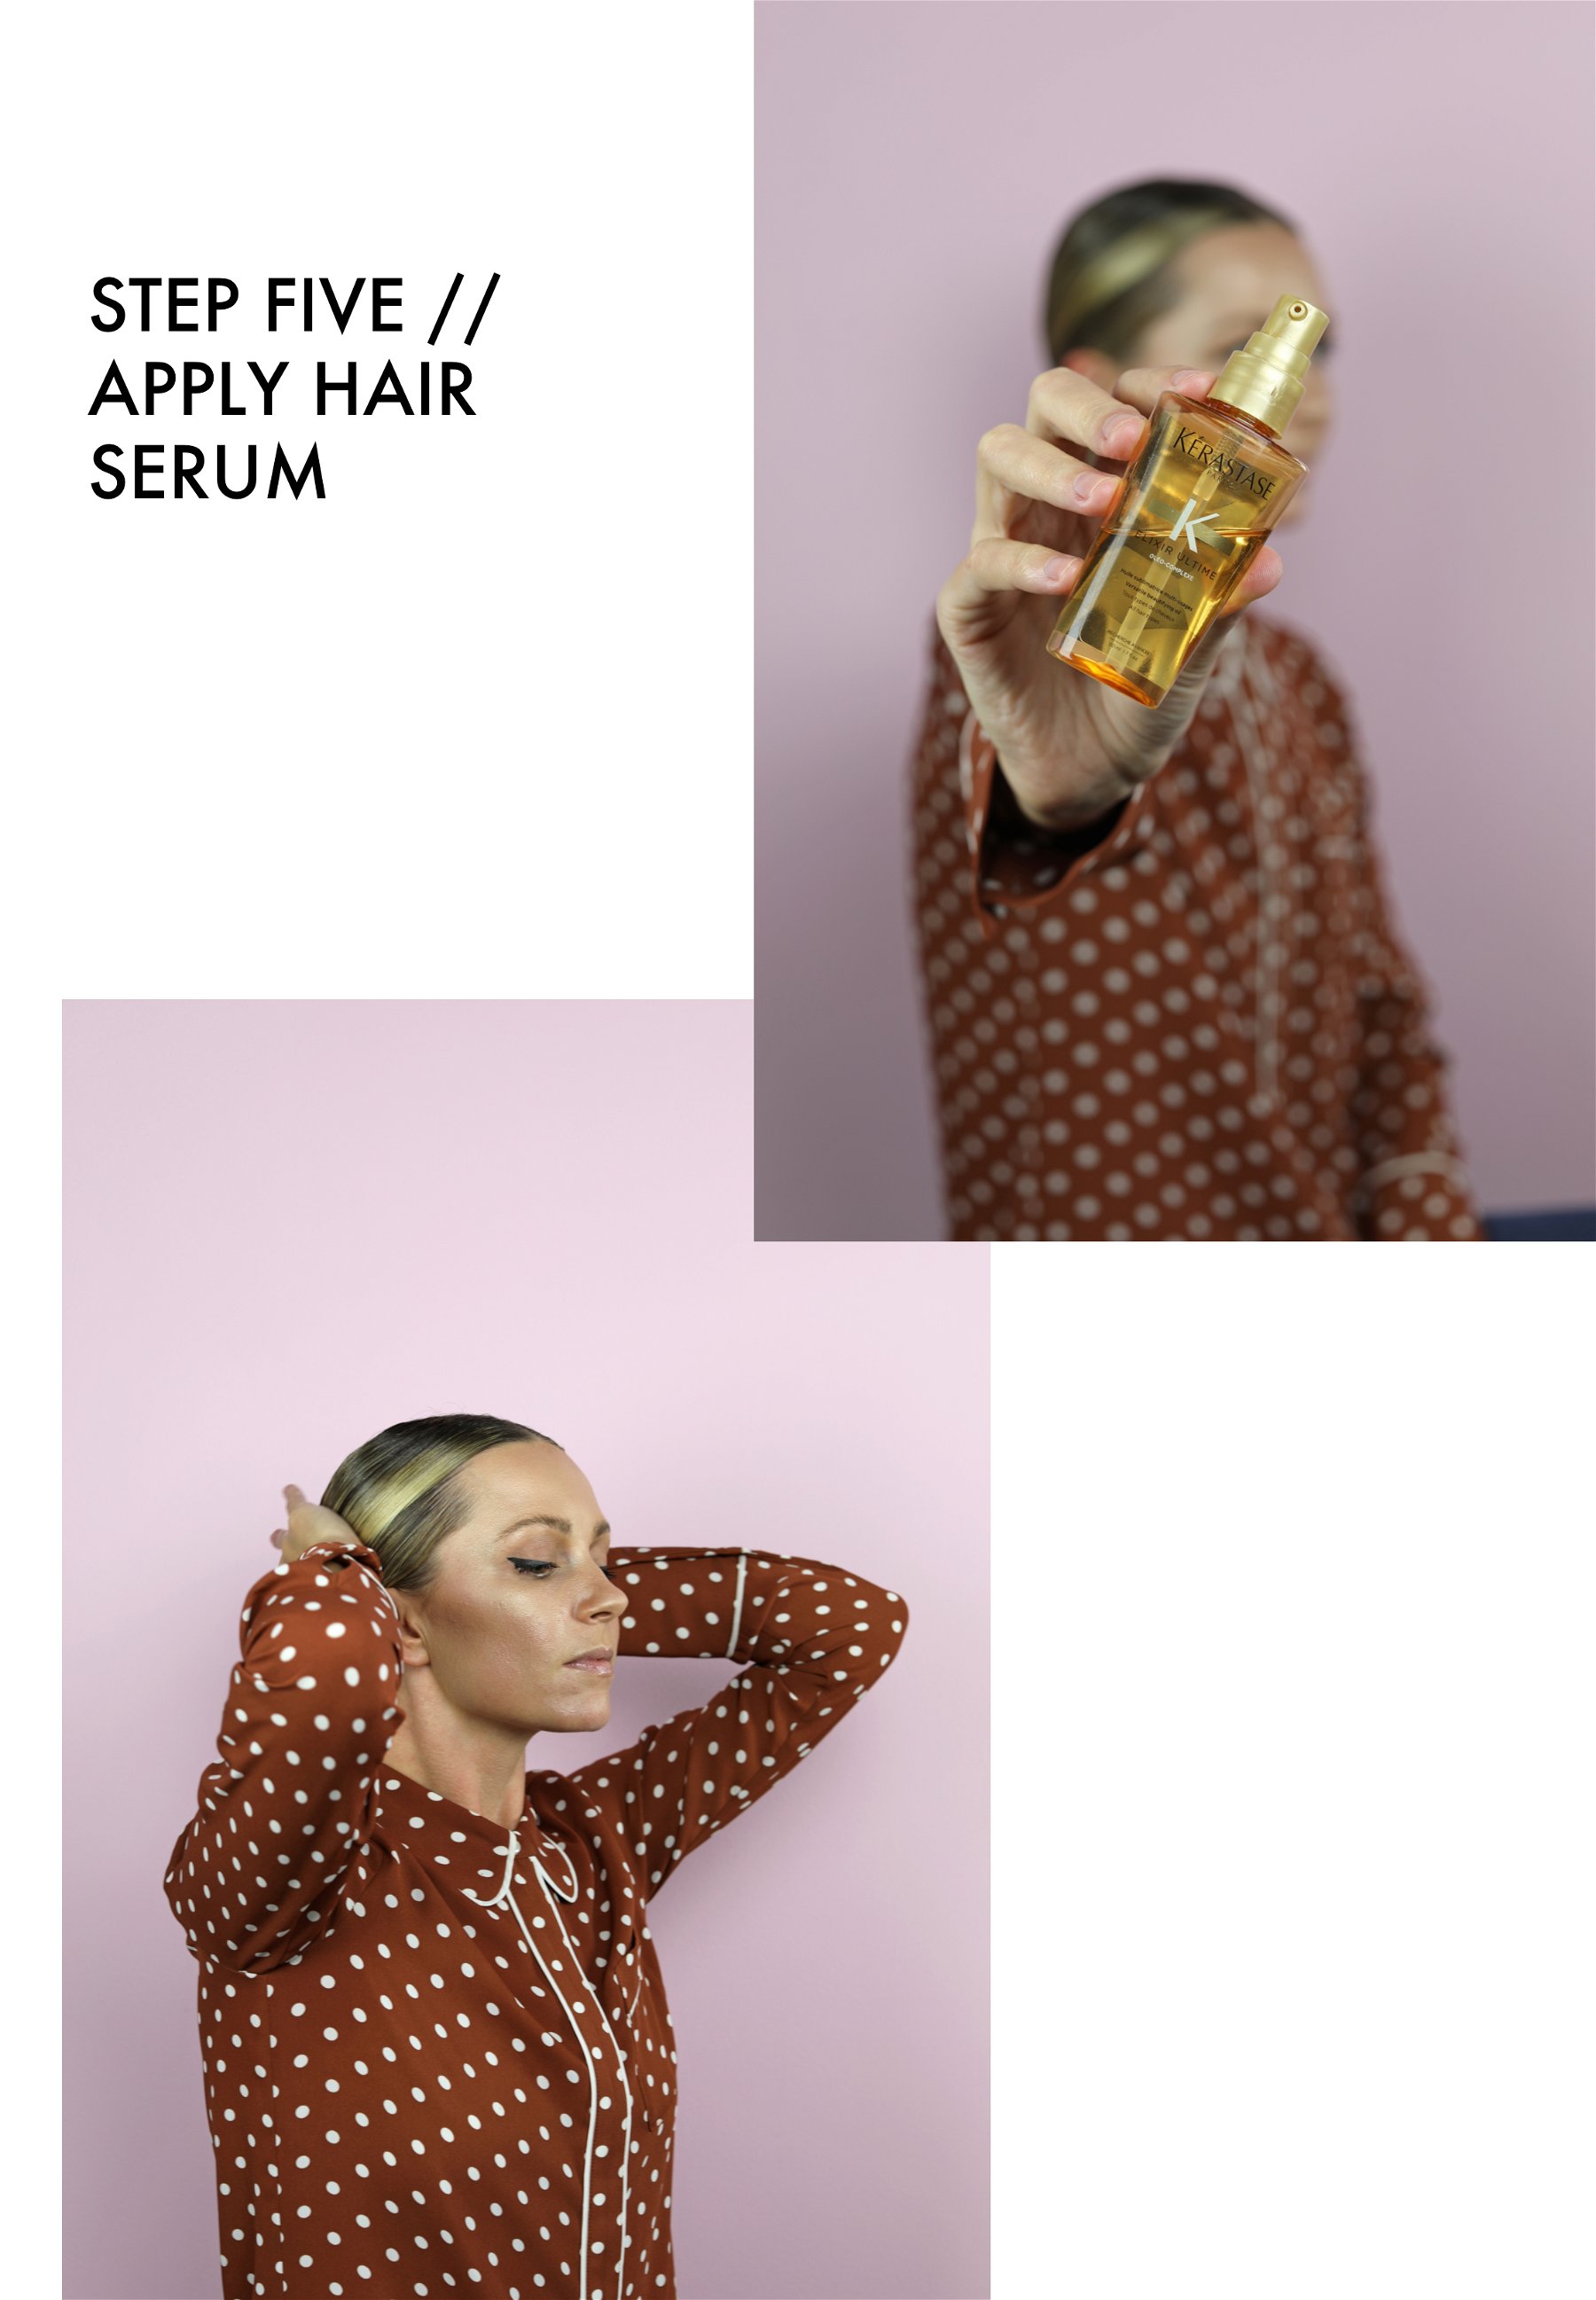
STEP FIVE // Now that my hair is pulled back I smooth it out further and capture the smaller flyaways by applying a top coat of serum. This Kerastase serum is my favorite and also comes in a handy travel size. I also use Moroccanoil original treatment for this step – I kind of trade off from time to time!
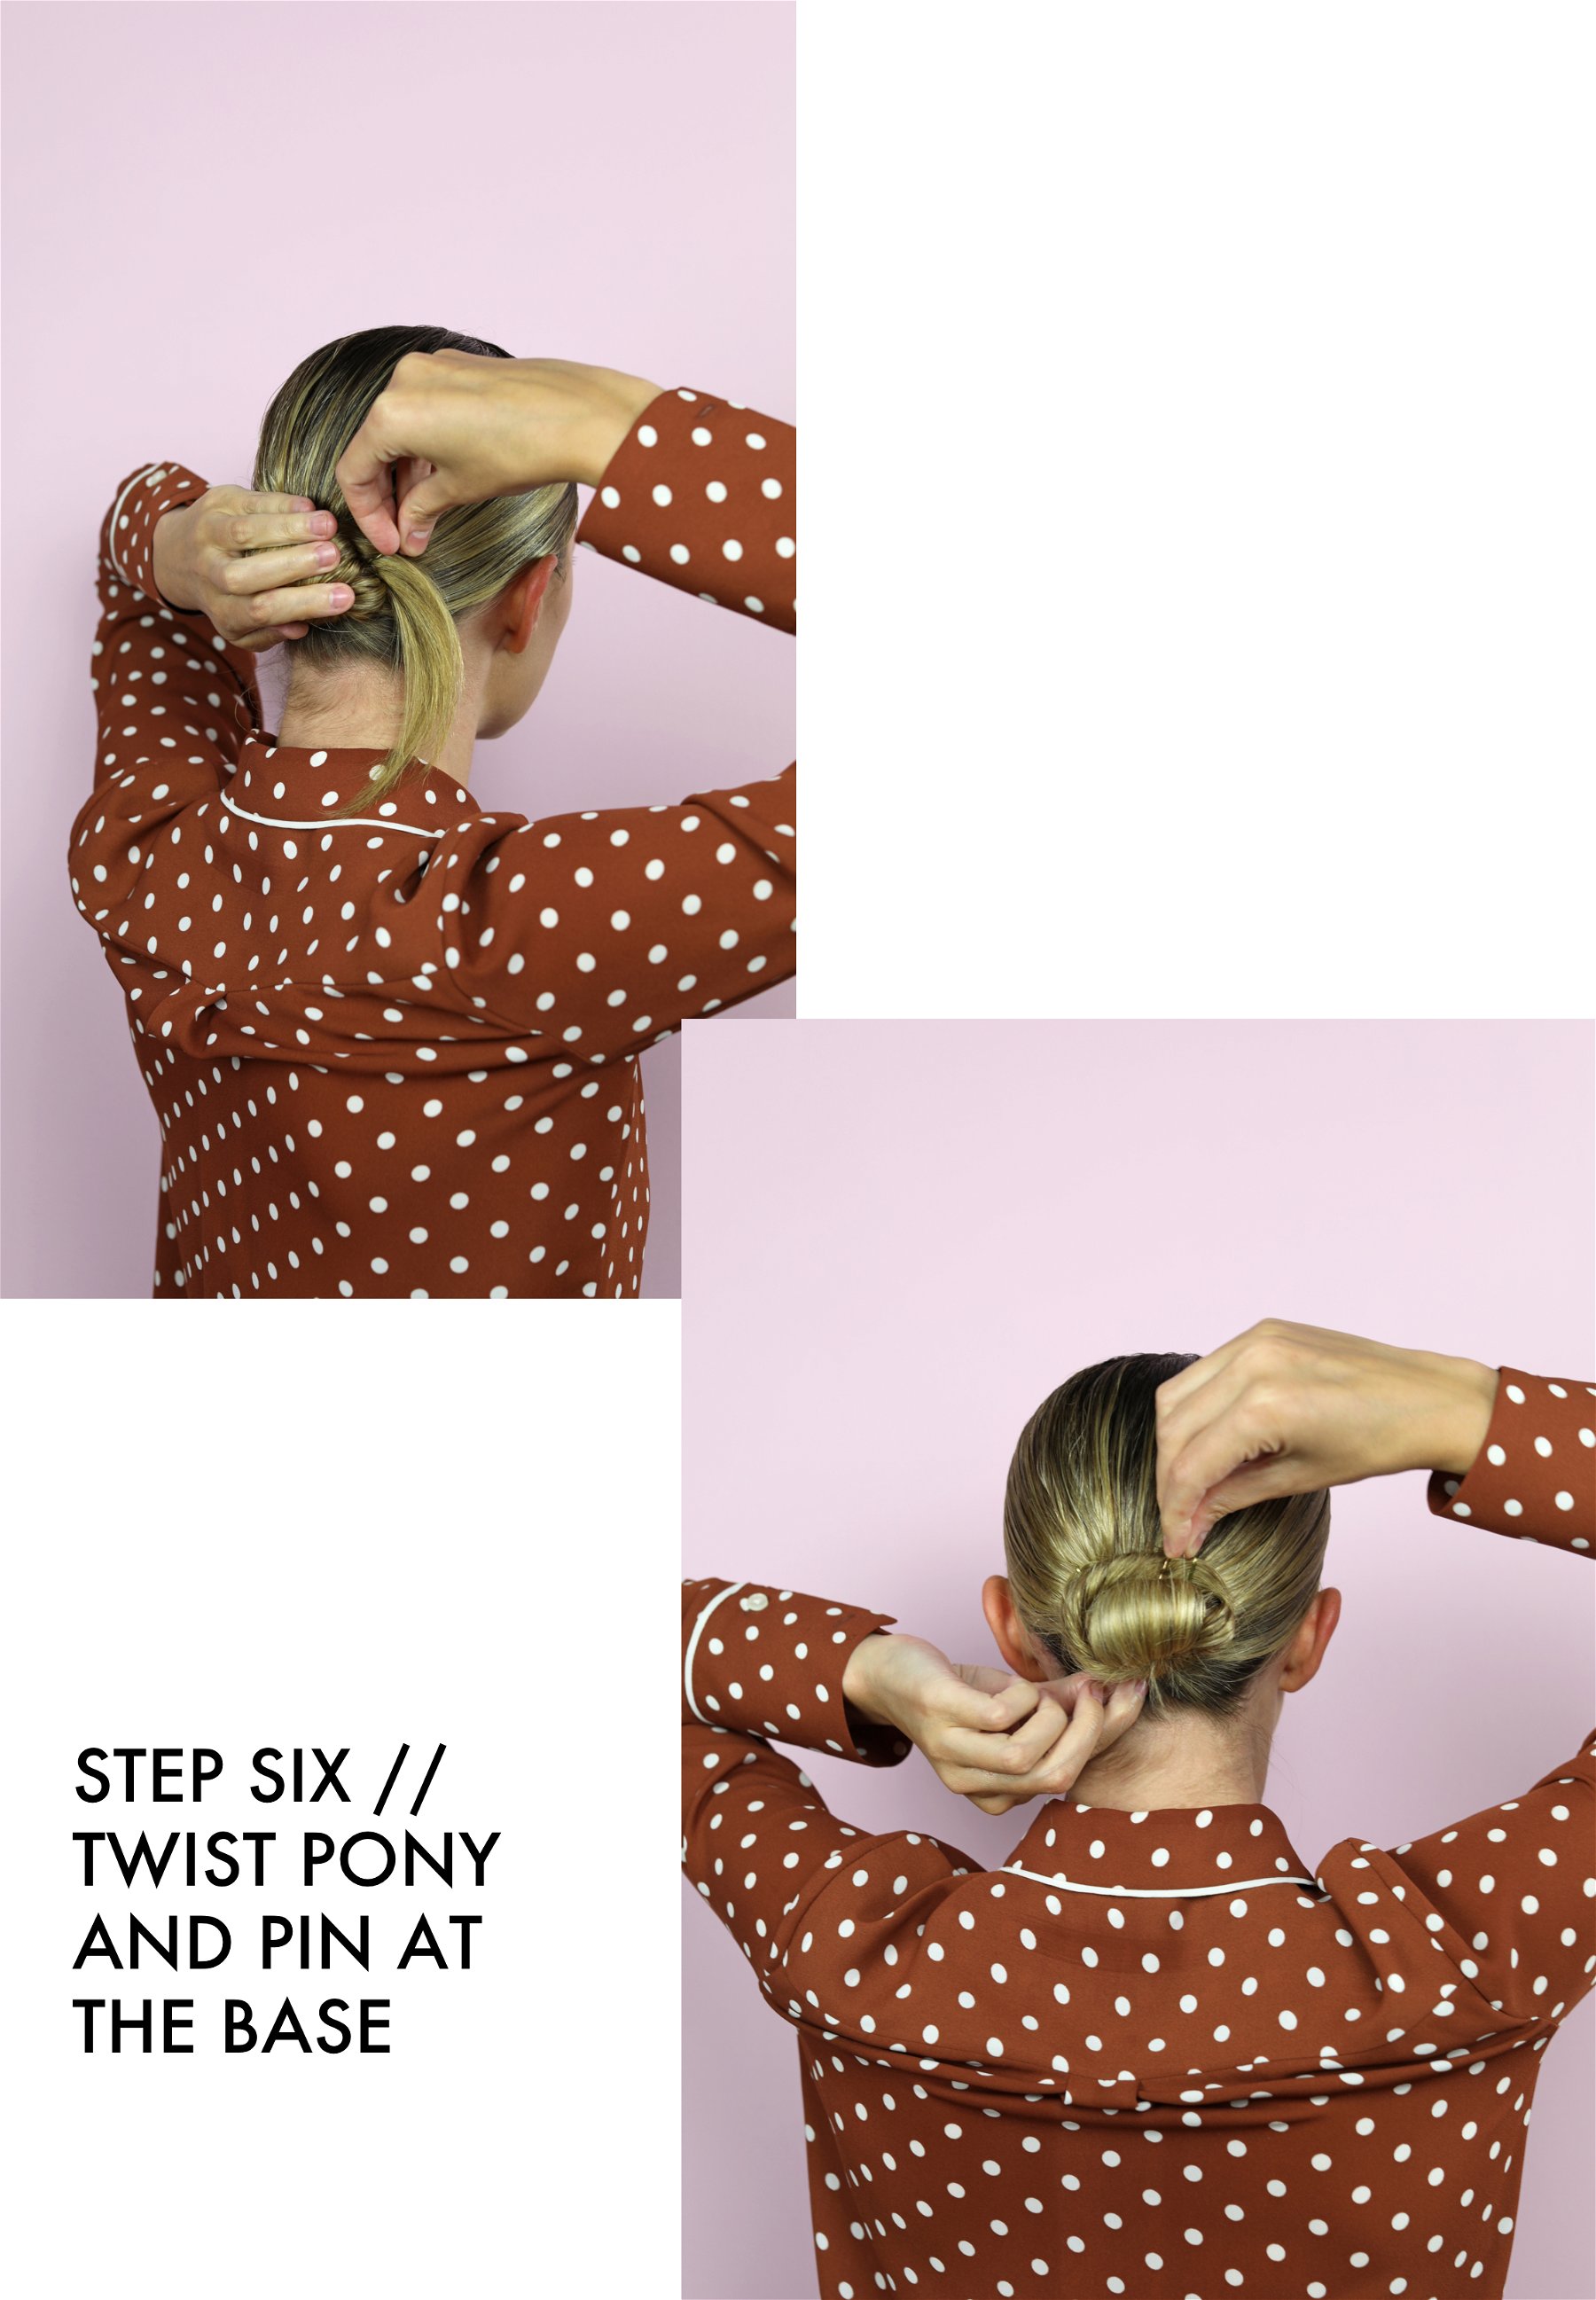
STEP SIX // Tightly twist your pony into a tight bun and using a mix of hair pins (these and these work well together), apply five to six to the base of the bun to hold it in place. Sometimes I’ll have to twist and then re-twist to get the positioning just right!
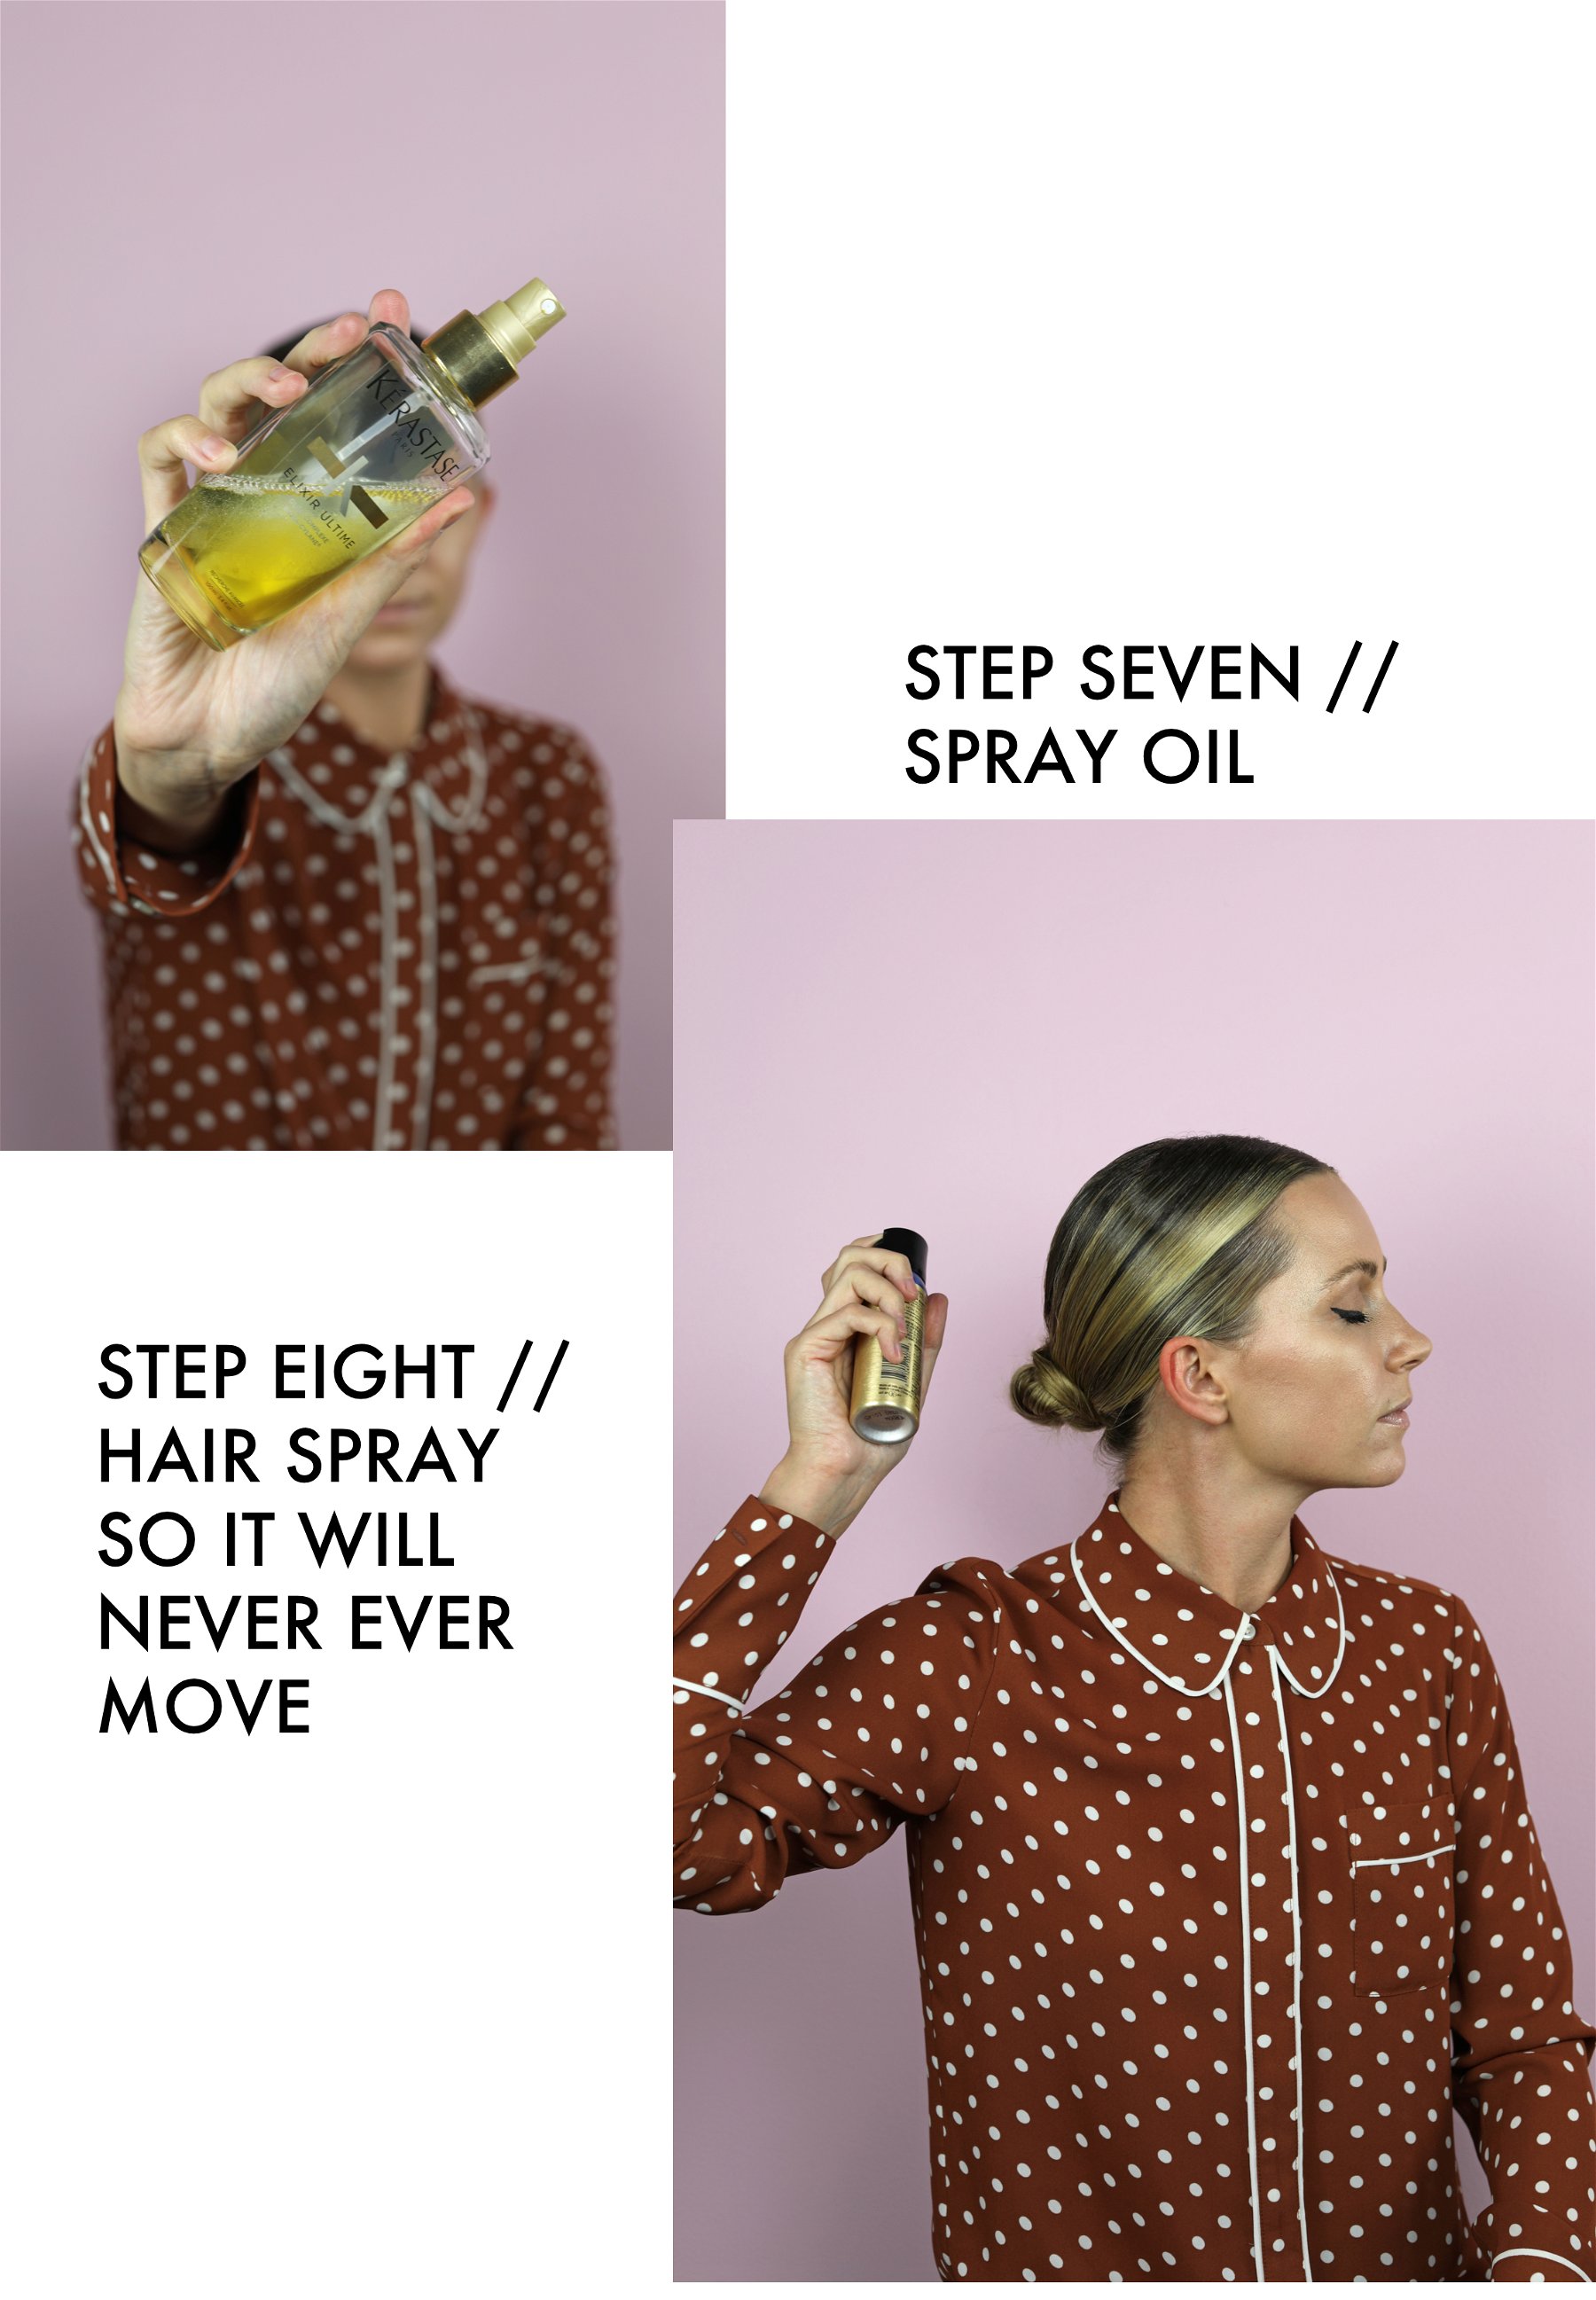
STEP SEVEN // I then apply a fine mist of this Kerastase oil for a high shine effect. After applying I use a toothbrush (which I obviously only use on my hair…felt like I needed to say that) to look for any last flyaways and brush them down lightly.
STEP EIGHT // USE ALL OF THE HAIRSPRAY. I swear by L’Oreal’s Elnett Satin Hairspray. It is the perfect weight, comes out as an ultra fine mist, and stays all day. I also keep a good stock of the travel size, which you can find here.
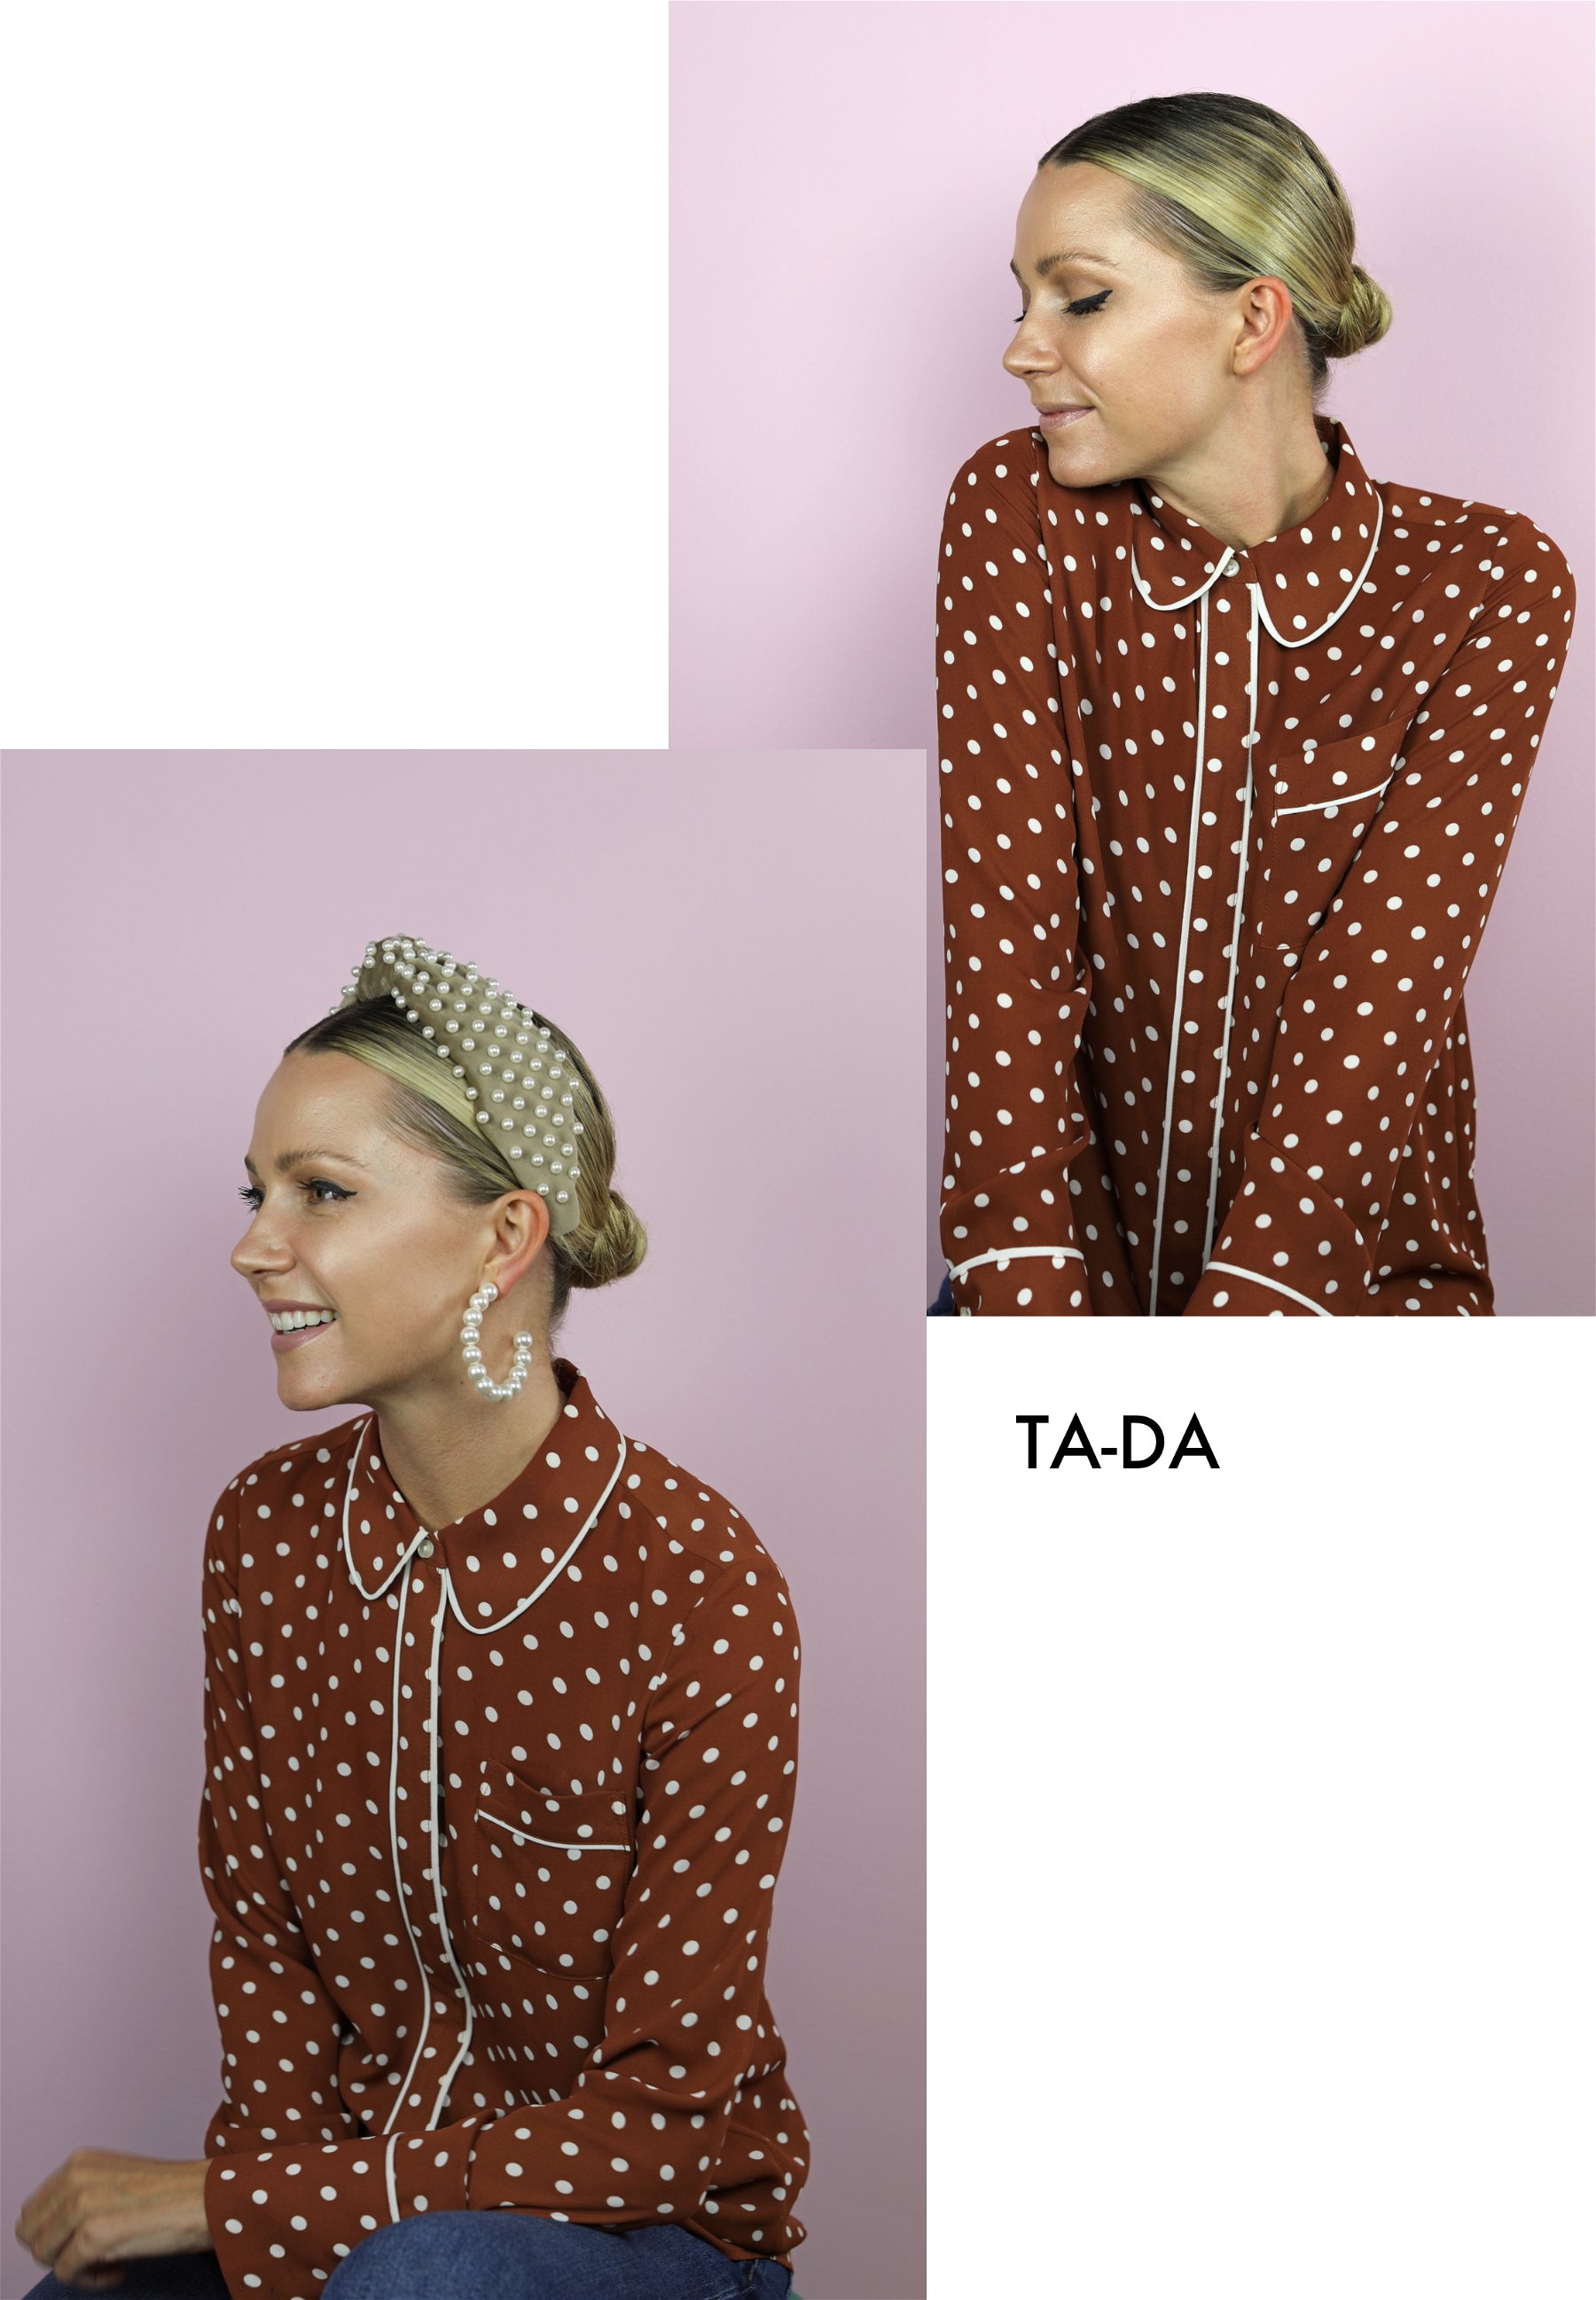
TA-DA all done! Here I am wearing a Lele Sadoughi headband, Lele earrings, and polka dot top from my Atlantic-Pacific x Halogen collaboration from last year! Answering a few more of your hair related questions below!
Q: Where do you get your hair done?
A: I see Zach at Voe Studio in Brooklyn. Zach has been handling my hair for almost five years now. He is knowledgeable, really listens, so talented and overall is simply a wonderful and kind person. It has been harder getting to see him in NYC during the pandemic (as we have been spending more time in Florida) so I ahve also been going to see Cheyanne Clark here in Sarasota! She is fantastic.
Q: When you DO curl your hair what tools and products do you use?
A: I use almost all of the same products listed above! Also for curling irons, this T3 wand is my all-time favorite. I use the 1 1/2” barrel on my hair. When I do curl my hair I apply clip-in extensions to give myself a little more length and volume!
Q: What is your natural hair color and what would I ask my colorist to do if I wanted to achieve your blonde look?
A: My natural hair color is a mousey brown! Zach baby lights my entire head except for around my hairline. Around the hairline he takes a thicker slice, creating a punchy focal point around the face. He also applies a root shadow glaze to my base to soften the grow out. This allows me to avoid the harsh line grow out and reduces trips to the salon. I go to the salon about every 6-8 weeks for a half head highlight. I only do a full highlight three times per year.
You can also peek my daily beauty routine here and five beauty products I didn’t know I needed here.
